Strongest Rogue Build S14 (Season 14): the infinite Death Trap machine that earns its gear requirements
Death Trap Rogue is a legitimate top-tier Speed Farming build when fully geared.
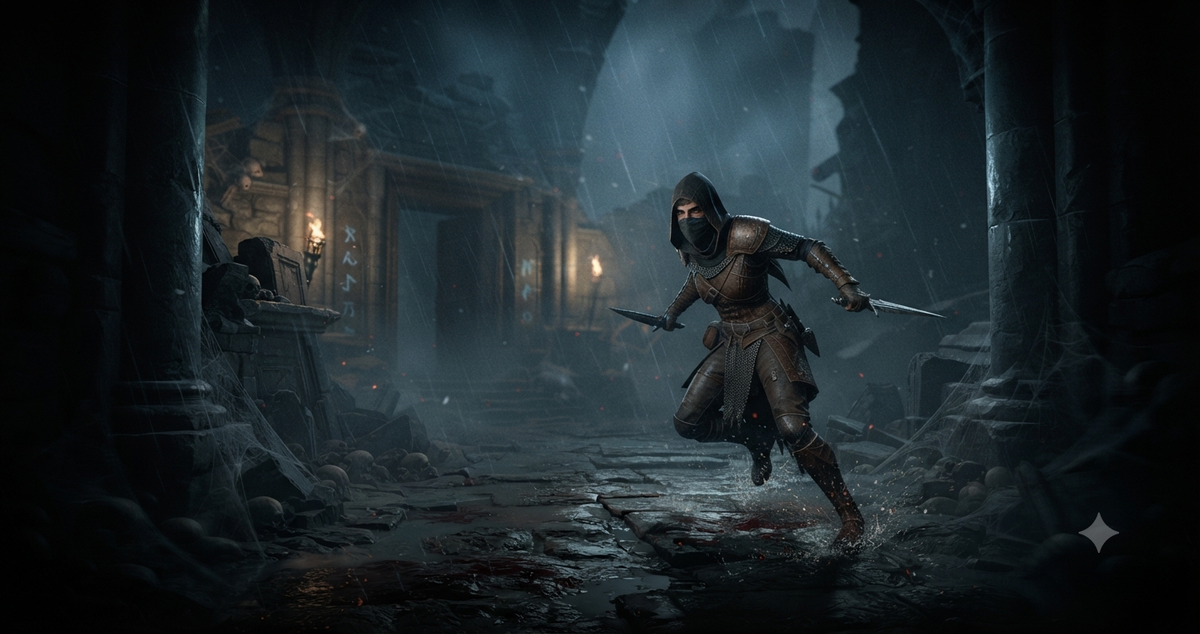
- Screen-wide AoE that clears entire packs instantly
- One-shot burst ceiling is among the highest in the class
- Strong crowd control through Smoke Grenade and Cold Imbuement
- Excellent scaling — power compounds sharply once breakpoints are met
- Hard breakpoint wall — the build barely functions until all three thresholds are hit
- Thin defenses at all stages; survives on mobility, not mitigation
- Energy management punishes players who haven't hit the 225 Maximum Energy threshold
- Long ramp-up before the reset loop comes online
TL;DR
Death Trap Rogue is the Rogue class's answer to screen-wiping: you spam Death Trap on near-zero cooldown, reset it instantly with Preparation and Beastfall Boots, and watch enemies launch across the screen. Getting there demands three specific breakpoints — 225 Maximum Energy, 15-second Death Trap cooldown, and enough Skill Ranks to satisfy Aspect of Aftermath. Commit if you want the fastest-feeling Rogue in Season 14. Skip it if you're mid-gear or impatient with breakpoint chasing.
Why You'd Play This
After a Season 14 hotfix enabled the Explosive Trigger variant, Death Trap now qualifies for Grenade-tagged multipliers — a substantial damage boost the previous version couldn't access. That change is part of why this build sits where it does on the tier list this season.
The appeal is the loop itself. Once all three breakpoints are in place, Preparation triple-resets Death Trap on a single attack through Beastfall Boots, and you're firing a skill that hits the entire screen on effectively no cooldown. Shadow Step handles mobility between drops. The result is a playstyle that feels genuinely frantic and rewarding rather than button-efficient and mechanical.
The B Leveling rating is the honest caveat upfront. This isn't a build you grow into gradually; it's a build you unlock. If you're planning to use it as a season-starter or early-progression vehicle, you'll be disappointed. Arrive here from a leveling build once you have the gear and the stats to support it.
How It Works
Death Trap is the only damage dealer. Every other skill in the kit exists to reset it, buff it, or keep you alive long enough to cast it again.
The reset loop relies on Preparation, which resets cooldowns when you spend a threshold of Energy. Beastfall Boots convert that interaction into a triple reset on one cast. For this to fire correctly, Death Trap's cooldown must be at or below 15 seconds and your Maximum Energy must be exactly 225. Aspect of Aftermath then refills your Energy after each reset, closing the loop. Miss any of these three numbers and the loop breaks entirely.
How the Explosive Trigger variant changes the damage calculation
Before the Season 14 hotfix, Death Trap couldn't benefit from Grenade-tagged multipliers. Selecting the Explosive Trigger upgrade changes the skill's damage tag, making it eligible for those multipliers — including bonuses from Opportunist's Aspect and other Explosive interactions. Stun Grenade additive damage lines still don't apply, but the multiplicative Grenade multipliers do. This is the mechanic behind the build's current damage ceiling.
Survivability comes from mobility, not mitigation. Concealment, Dark Shroud, and Shadow Step keep you off the ground. Raheir as your hired Mercenary provides Valiance, Raheir's Aegis, and Bastion when those aren't enough. Aspect of Debilitating Toxins contributes a large unconditional Damage Reduction — notable because it works even though you aren't running a Poison skill.
Aspect of Inner Calm stays at maximum stacks as long as you're using Shadow Step to move, which is effectively always.
The Build
Skill priority:
- Cast Dark Shroud immediately on entering a fight.
- Cast Concealment — activates the Phoba of the Sightless set bonus (380% damage multiplier) and generates Critical Strike Chance from Calculation.
- Cast Smoke Grenade for additional Critical Strike Chance from Silhouette.
- Cast Death Trap on cooldown. Each cast resets Concealment through your set bonus.
- Wait until you lose Unstoppable before recasting Concealment.
- Use Cold Imbuement and Shadow Step to reposition between Death Trap casts.
Breakpoints — hit these before committing to the build:
- 225 Maximum Energy — sourced from Maximum Resource on Helmet, Chest, Boots, Amulet, Charm set pieces, or Sea Lord's Fine Gloves.
- 15-second Death Trap cooldown — requires Greater Affix Cooldown Reduction on Helmet, Gloves, Rings, Amulet, Eyes in the Dark, and Misericorde; plus Greater Affix Cooldown Reduction Tempers on Rings and Amulet; plus Trap Arm Time Reduction on Gloves and the Spring-Loaded Paragon Node.
- Skill Ranks for Aspect of Aftermath — at minimum roll you need 40 Ranks (27 if Aftermath is on an Amulet); at max roll you need 25 Ranks (17 on Amulet). Death Trap Ranks come from Scoundrel's Leathers, Saboteur's Signet, and Charm set pieces.
Mythic priority order:
- Beastfall Boots (mandatory — the loop does not function without these)
- Saboteur's Signet (damage multiplier and Vulnerable/Weakened application work with Death Trap; the size increase does not)
- Eyes in the Dark
- Scoundrel's Leathers
- Misericorde (not required for the loop, but provides guaranteed Cooldown Reduction and functions as a powerful multiplier)
Key Aspects:
- Aspect of Aftermath — energy refill engine; placement on Amulet reduces required Skill Ranks significantly
- Aspect of Inner Calm — max stacks maintained via Shadow Step movement
- Opportunist's Aspect — Explosive multiplier applies to Death Trap with Explosive Trigger selected
- Aspect of Alchemical Advantage — smooths the rotation; swap to Trickster's Aspect if you want raw damage
- Aspect of Debilitating Toxins — large unconditional Damage Reduction, no Poison skill required
Runes:
- Zan + Que — barrier generation for when Buffered Battery's barrier is insufficient
- Yul + Gar — 10% Critical Strike Chance
Paragon boards: Devious · Deadly Ambush · No Witnesses · Danse Macabre · Eldritch Bounty, with Canny, Versatility, Explosive, and Ambush Glyphs leveled to 150.
Mercenaries:
- Hired: Raheir (defensive buffs — Valiance, Raheir's Aegis, Bastion)
- Reinforcement: Aldkin (Field of Languish)
How to Play It
Open every fight with Dark Shroud, then Concealment, then Smoke Grenade — in that order, every time. The buff window from Concealment is load-bearing; you're not fighting well without it.
Drop Death Trap continuously on cooldown. The triple-reset fires automatically through Preparation and Beastfall Boots as long as your Energy loop is intact. If you're not seeing resets, check your Maximum Energy and cooldown first — one missed breakpoint explains most loop failures.
Recast Concealment the moment you lose Unstoppable, not before. Early recasting wastes the set bonus reset.
Use Shadow Step aggressively between casts. It maintains Inner Calm stacks, repositions you out of danger, and keeps the Aldkin reinforcement proc'd. Cold Imbuement goes on any enemy cluster you're about to trap — apply it before the Death Trap lands.
In higher Torment, Raheir's defensive procs are what buy you the window to complete your rotation. Don't skip the Mercenary setup.
Budget Paths
Starter / entry point: This build isn't a starter. Run Dance of Knives or Twisting Blades Rogue to reach Level 70 and Torment 1, then transition. The Maxroll guide explicitly flags this.
Mid: Once you have Beastfall Boots and can hit the 15-second cooldown threshold with non-Mythic gear, the basic loop comes online at reduced efficiency. Aspect of Aftermath on an Amulet slot is the fastest way to lower the Skill Rank requirement during this phase.
Endgame: All three breakpoints met, Greater Affix rolls on Cooldown Reduction slots, and at least the first two Mythics equipped (Beastfall Boots, Saboteur's Signet). Each additional Mythic from the priority list above is a meaningful power step rather than a marginal upgrade.
Mythic items accelerate power substantially but aren't strictly required for the loop itself — Beastfall Boots is the single exception.
The Bottom Line
Death Trap Rogue is a legitimate top-tier Speed Farming build when fully geared, and it earns its S rating through an actual mechanical system rather than stat padding. The reset loop is clean and satisfying once it's running, and the post-hotfix Explosive Trigger change added a real damage ceiling increase this season.
The S carries medium confidence — re-verify if a patch touches Preparation, Beastfall Boots, or the Grenade tag interaction on Explosive Trigger.
Skip this build if you're still in early Torment progression, don't have Beastfall Boots, or find breakpoint-dependent builds frustrating rather than rewarding. The gear wall is real and the build does very little before you clear it.
Notes
The S tier carries medium confidence. The claim rests heavily on the infinite reset loop via Preparation and Beastfall Boots functioning as described — if either is adjusted in a patch, the entire damage model changes. Verify the loop is intact at season launch or after any balance update touching these items.
Misericorde is strong but not required. Players who are unlucky on Mythic drops can run the build without it and without Scoundrel's Leathers or Eyes in the Dark — the loop still functions, just at lower output.
The Maxroll guide lists "Easy to Play" as a Pro, which sits in tension with this record's Advanced difficulty rating. The build's rotation is short and repetitive once the breakpoints are met; the difficulty lives in acquiring and building toward those breakpoints, not in execution. Both assessments are defensible depending on what stage of the build you're evaluating.
One adjustment from the video worth copying: around the nine-minute mark, Wudijo swaps the amulet aspect over to a defensive power for farming — trading a little damage for a lot of safety. If you're dying more than you'd like on speed runs, make the same trade.
Sources
- Wudijo — build video (YouTube): https://youtu.be/ra1dkWIUc1M
- Avarilyn (Maxroll.gg) — Death Trap Rogue Endgame Build Guide, Season 14: https://maxroll.gg/d4/build-guides/death-trap-rogue-guide